

When I was nascent in Cloud Native, I was told that Kubernetes is the next big thing that you will evidence for yourself. Looking back, I can see that quote was quite accurate.
Today, hundreds and thousands of companies have moved or are moving their production to K8s, and the reasons for this are obvious. Previously, we did not have much choice regarding the underlying hardware. Now it seems that virtually all of the hardware has native support for Kubernetes or vice versa. One of the types is ARM (Advanced RISC Machine), which has recently gained quite a lot of traction. There are a few reasons that this hardware is so popular:
- Low power consumption
- Reasonable performance
- Cost efficient
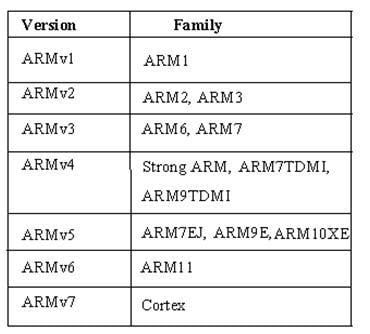
ARM Architecture Families
Motivation
I have always been fond of small/miniature devices: they are a bit too sophisticated to carry huge tasks. As a sophomore, I was given the chance to get my hands on Arduino, a small micro-controller, embedded with an Atmega-328 microprocessor. It was quite fun to see my code in action and see the small devices doing fancy things. Very quickly, I developed a hobby in IoT, so a couple of months back I bought a few Raspberry Pi systems. I thought about creating my own Kubernetes cluster using all the Pi that would be at my disposal anytime. I was aware that Lucas already added ARM support in Kubernetes quite a ways back.
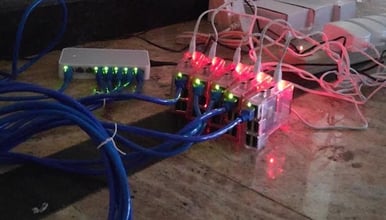
Hardware
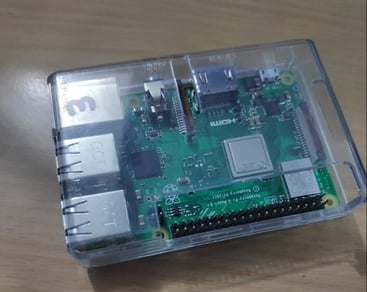
1. Raspberry Pi 3 B+
2. 16 GB MicroSDHC cards

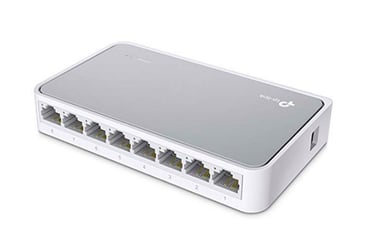
3. Switch
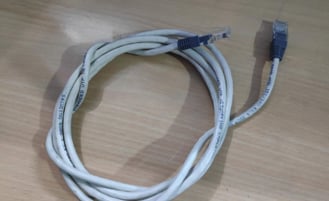
4. CAT5e LAN cables
5. Power adapters
Process
There are several methods available on the internet to get your ARM cluster up and running using kubeadm. However, I’ll go ahead and brief my experience.
Common Configuration
The first step was flashing all the SD cards with Raspbian lite OS using Etcher, and placing an empty ssh file in the boot directory.
touch sshThis will make the Raspberry headless, meaning that we can now access it using ssh. Now we no longer need any monitor or external display.
ssh pi@raspberrypi.localNow disable swaps on all the Raspberry systems. Kubernetes requires swap to be disabled.
sudo swapoffIn my case, I had one master and two workers. I changed the hostname of all the Raspberry to k8s-master-01, k8s-worker-01, k8s-worker-02, and k8s-worker-03. To change the hostname, I ssh’ed inside one of the Pi and typed sudo raspi-config. Now,
Network Options > Hostname
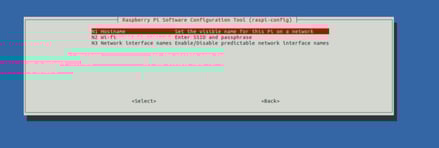
and changed the hostname.
Next, I assigned a static IP to all the nodes.
vi /etc/dhcpcd.conf and append the following line at the end of the file.
interface eth0
static ip_address=x.x.x.y/24
static routers=x.x.x.1
static domain_name_servers=8.8.8.8
This will assign the static IP, reboot Pi sudo reboot.
Now we are ready to install the required binaries/softwares:
- Docker
- Kubeadm
- Kubectl
Master Node Configuration
We’ll do this the traditional way kubeadm does. That is, initializing kubeadm in master and joining the rest of nodes as workers.
1. Pre-pull all the images that are required by kubeadm.sudo kubeadm config images2. Now initialize the kubeadm.
sudo kubeadm init --token-ttl=0--token-ttl=0 will ensure your token won’t expire. This will run for around 20 mins and will give with a token. By default, kubeadm will take weave net as a network plugin. Now, once you get a token with command, save it where desired.
3. Copy the command; it should look like this:
kubeadm join --token 9e700f.7dc97f5e3a45c9e5 192.168.0.2:6443 --
discovery-token-ca-cert-hash sha256:<HASH>
Worker Node Configuration
Paste the above in all of the worker nodes. There will be a few more steps involved, such as running:
$ mkdir -p $HOME/.kube
$ sudo cp -i /etc/kubernetes/admin.conf $HOME/.kube/config
$ sudo chown $(id -u):$(id -g) $HOME/.kube/config
Your Raspberry Pi cluster is now ready.
Now try running:
kubectl get nodesThe nodes might not be ready at the moment, but don’t worry and just hold on for a bit.
All set to sail!
Use Cases
Sumit Lalwani and I achieved success in running OpenEBS Node Disk Manager on Raspberry Pi k8s cluster. NDM, if you don’t know, is an OpenSource Go project by OpenEBS, a CNCF project, which helps you get underlying disks using CRD.
kubectl get disksSince I have my ARM cluster, it’s important to perform benchmarking tests to compare between different storage options or different network plugins.
Links
- Node Disk Manager on Raspberry Pi k8s cluster
- Evaluating different CNI plugins on Raspberry Pi k8s cluster
- [WIP] OpenEBS vs Rook, benchmarking on ARM
This article was first published on Jun 21, 2019 on MayaData's Medium Account


Game changer in Container and Storage Paradigm- MayaData gets acquired by DataCore Software
Don Williams
Don Williams
Managing Ephemeral Storage on Kubernetes with OpenEBS
Kiran Mova
Kiran Mova
Understanding Persistent Volumes and PVCs in Kubernetes & OpenEBS
Murat Karslioglu
Murat Karslioglu