

Simple Steps to Easily Run GitLab
After Microsoft announced its acquisition of GitHub, many developers raised concerns on social media about Microsoft’s history of unsuccessfully running acquired businesses such as Skype, Nokia’s handset business, Navision and the other 150 companies (you probably haven’t noticed) they have swallowed up over the years.
Other than keeping the developer’s life-support plugged in, one of the biggest concerns is that MS would use its power over GitHub repositories to analyze trends among software development in order to launch competing products. Also, there are fears that GitHub privacy may be in jeopardy, which has already led many developers to jump ship or consider alternatives. GitLab’s publicly available status graphs show spikes of 70x increases in imported repositories (average 100 vs 7.5K), a confirmation of increased user apprehension.
Here is one of the fastest ways to get your private repository with Gitlab up and running on your Kubernetes environment — Let’s “Make DevOps lifecycle private again” ©
Currently, the simplest recommended way to install GitLab on Kubernetes is by using the Gitlab-Omnibus Helm charts.
Gitlab-Omnibus deploys every feature, and a small deployment would require inclusion of the Container Registry, load balancer (NGINX), Mattermost, and Runner.
Prerequisites
Minimum requirements for a multi-node cluster:
Hardware
- Boot node: 1x 1+ core(s) >= 2.4 GHz CPU, 4GB RAM, >=100 GB disk space
- Master node: 1 or 3x 2+ cores >= 2.4 GHz CPU, 4+GB RAM, >=151 GB disk space
- Worker node: 3x 2+ cores >= 2.4 GHz CPU, 4+GB RAM, >=100 GB disk space
Since I’m not planning to run anything heavy, I’ll be using 3 nodes, and will install Master, Proxy, and Workers an all 3.
Software
- Ubuntu 16.04 LTS (RHEL 7.x is also supported)
- Docker 1.12 to 17.03
- Kubernetes 1.7+ Cluster (You can use IBM Cloud Private 2.1.0.2 or Red Hat OpenShift Origin)
- kubectl
- Helm client
- A GitLab Omnibus Pod, including Mattermost, Container Registry, and Prometheus
- An auto-scaling GitLab Runner using the Kubernetes executor
- Redis
- PostgreSQL
- NGINX Ingress
- OpenEBS persistent volumes for Data, Registry, Postgres, and Redis
The Kubernetes instructions described below using Helm are generic and should work on all other platforms.
Installing GitLab and OpenEBS using the Helm Chart
GitLab depends on stateful applications like Redis and PostgeSQL, and requires persistent volumes for its data and the registry. Here, I will simplify the storage provisioning using OpenEBS.
First, install OpenEBS using the chart.
helm install — name ‘openebs-gitlab-test’ stable/openebsOptional: If you would like to customize your OpenEBS installation you can also use a copy of the value.yaml file from the OpenEBS chart and modify parameters listed here.
helm install — name ‘openebs-gitlab-test’ -f values.yaml stable/openebsNext, add the predefined storage classes.
kubectl apply -f
https://raw.githubusercontent.com/openebs/openebs/master/k8s/openebs-storageclasses.yaml
There are many ways to enable OpenEBS for use by GitLab. The fastest is by making one of the OpenEBS storage classes a default StorageClass:
List available OpenEBS storage classes in your cluster.
murat@icpnode1:~$ kubectl get sc
NAME PROVISIONER AGE
openebs-cassandra openebs.io/provisioner-iscsi 18d
openebs-es-data-sc openebs.io/provisioner-iscsi 18d
openebs-jupyter openebs.io/provisioner-iscsi 18d
openebs-kafka openebs.io/provisioner-iscsi 18d
openebs-mongodb openebs.io/provisioner-iscsi 18d
openebs-percona openebs.io/provisioner-iscsi 18d
openebs-redis openebs.io/provisioner-iscsi 18d
openebs-standalone openebs.io/provisioner-iscsi 18d
openebs-standard openebs.io/provisioner-iscsi 18d
openebs-zk openebs.io/provisioner-iscsi 18dkubectl patch storageclass openebs-standard -p ‘{“metadata”: {“annotations”:{“storageclass.kubernetes.io/is-default-class”:”true”}}}’No verify that your chosen StorageClass is indeed the default.
murat@icpnode1:~$ kubectl get sc
NAME PROVISIONER AGE
openebs-cassandra openebs.io/provisioner-iscsi 18d
openebs-es-data-sc openebs.io/provisioner-iscsi 18d
openebs-jupyter openebs.io/provisioner-iscsi 18d
openebs-kafka openebs.io/provisioner-iscsi 18d
openebs-mongodb openebs.io/provisioner-iscsi 18d
openebs-percona openebs.io/provisioner-iscsi 18d
openebs-redis openebs.io/provisioner-iscsi 18d
openebs-standalone openebs.io/provisioner-iscsi 18d
openebs-standard (default) openebs.io/provisioner-iscsi 18d
openebs-zk openebs.io/provisioner-iscsi 18d
Next, we can install the GitLab-ce chart. It is recommended to save your configuration options in a values.yaml file for future use.
wget
 https://raw.githubusercontent.com/kubernetes/charts/master/stable/gitlab-ce/values.yaml
Edit the values.yaml file and at minimum, add the externalUrl field. Otherwise, you’ll end up with a non-functioning release.
Here is how my values.yaml file looks like after these changes:
image: gitlab/gitlab-ce:9.4.1-ce.0
externalUrl: http://containerized.me/
serviceType: LoadBalancer
ingress:
annotations:
enabled: false
tls:
url: gitlab.cluster.local
sshPort: 22
httpPort: 80
httpsPort: 443
livenessPort: http
readinessPort: http
resources:
requests:
memory: 1Gi
cpu: 500m
limits:
memory: 2Gi
cpu: 1
persistence:
gitlabEtc:
enabled: true
size: 1Gi
storageClass: openebs-standard
accessMode: ReadWriteOnce
gitlabData:
enabled: true
size: 10Gi
storageClass: openebs-standard
accessMode: ReadWriteOnce
postgresql:
imageTag: “9.6”
cpu: 1000m
memory: 1Gi
postgresUser: gitlab
postgresPassword: gitlab
postgresDatabase: gitlab
persistence:
size: 10Gi
storageClass: openebs-standard
accessMode: ReadWriteOnce
redis:
redisPassword: “gitlab”
resources:
requests:
memory: 1Gi
persistence:
size: 10Gi
storageClass: openebs-standard
accessMode: ReadWriteOnce
Now, install the chart.
helm install — name gitlab-test -f values.yaml stable/gitlab-ceList the pods and confirm that all pods are ready and running.
$ kubectl get pods

NAME READY STATUS RESTARTS AGE
gitlab-test-gitlab-ce-dd69cdf4b-69vmb 1/1 Running 0 11m
gitlab-test-postgresql-75bf9b667d-lwj2b 1/1 Running 0 11m
gitlab-test-redis-998998b59-hzztj 1/1 Running 0 11m
openebs-gitlab-test-apiserver-68fc4488fd-jf8gz 1/1 Running 0 1h
openebs-gitlab-test-provisioner-7dfdf646d8–9wpmg 1/1 Running 0 1h
pvc-cb0fc1b2–6904–11e8–9f57–06a0a9acf800-ctrl-74d4b59c9f-bjtg2 2/2 Running 0 11m
pvc-cb0fc1b2–6904–11e8–9f57–06a0a9acf800-rep-64f56667d-6ds26 1/1 Running 0 11m
pvc-cb0fc1b2–6904–11e8–9f57–06a0a9acf800-rep-64f56667d-99mbh 1/1 Running 0 11m
pvc-cb0fc1b2–6904–11e8–9f57–06a0a9acf800-rep-64f56667d-d8d4z 1/1 Running 0 11m
pvc-cb1064ee-6904–11e8–9f57–06a0a9acf800-ctrl-bd7cff65f-ph8dr 2/2 Running 0 11m
pvc-cb1064ee-6904–11e8–9f57–06a0a9acf800-rep-595dd9c997–2lm4x 1/1 Running 0 11m
pvc-cb1064ee-6904–11e8–9f57–06a0a9acf800-rep-595dd9c997-jldjs 1/1 Running 0 11m
pvc-cb1064ee-6904–11e8–9f57–06a0a9acf800-rep-595dd9c997-kzlrc 1/1 Running 0 11m
pvc-cb111261–6904–11e8–9f57–06a0a9acf800-ctrl-668f5988c5-hv8vb 2/2 Running 0 11m
pvc-cb111261–6904–11e8–9f57–06a0a9acf800-rep-74974f6644-hsn49 1/1 Running 0 11m
pvc-cb111261–6904–11e8–9f57–06a0a9acf800-rep-74974f6644-lj64g 1/1 Running 0 11m
pvc-cb111261–6904–11e8–9f57–06a0a9acf800-rep-74974f6644-z6kfd 1/1 Running 0 11m
pvc-cb11a791–6904–11e8–9f57–06a0a9acf800-ctrl-585cf7c97d-58pnq 2/2 Running 0 11m
pvc-cb11a791–6904–11e8–9f57–06a0a9acf800-rep-79d658d94c-5bzn6 1/1 Running 0 11m
pvc-cb11a791–6904–11e8–9f57–06a0a9acf800-rep-79d658d94c-9dz5f 1/1 Running 0 11m
pvc-cb11a791–6904–11e8–9f57–06a0a9acf800-rep-79d658d94c-snkfb 1/1 Running 0 11m
Get the list of persistent volumes.
$ kubectl get pv

NAME CAPACITY ACCESS MODES RECLAIM POLICY STATUS CLAIM STORAGECLASS REASON AGE
pvc-cb0fc1b2–6904–11e8–9f57–06a0a9acf800 10Gi RWO Delete Bound default/gitlab-test-postgresql openebs-standard 17m
pvc-cb1064ee-6904–11e8–9f57–06a0a9acf800 10Gi RWO Delete Bound default/gitlab-test-redis openebs-standard 17m
pvc-cb111261–6904–11e8–9f57–06a0a9acf800 10Gi RWO Delete Bound default/gitlab-test-gitlab-ce-data openebs-standard 17m
pvc-cb11a791–6904–11e8–9f57–06a0a9acf800 1Gi RWO Delete Bound default/gitlab-test-gitlab-ce-etc openebs-standard 17m
You can see above that four persistent volumes were created (postgresql, redis, gitlab-ce-etc, gitlab-ce-data), and each volume is protected by 3 replicas.
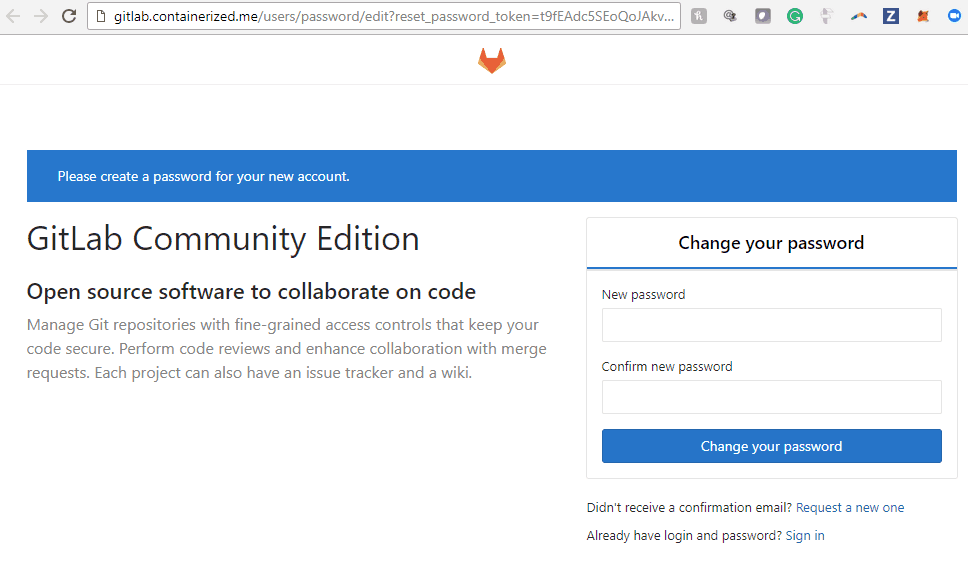
Now go to the external endpoint address you have defined and start using GitLab after you set your new password.
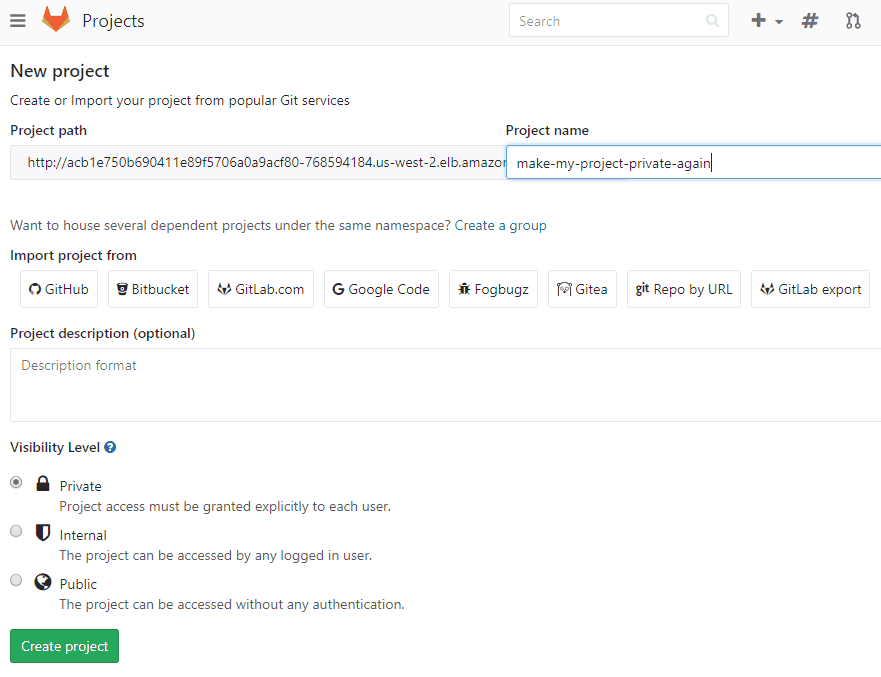
 Now click on Create a project, then import your existing project from GitHub and start using GitLab.
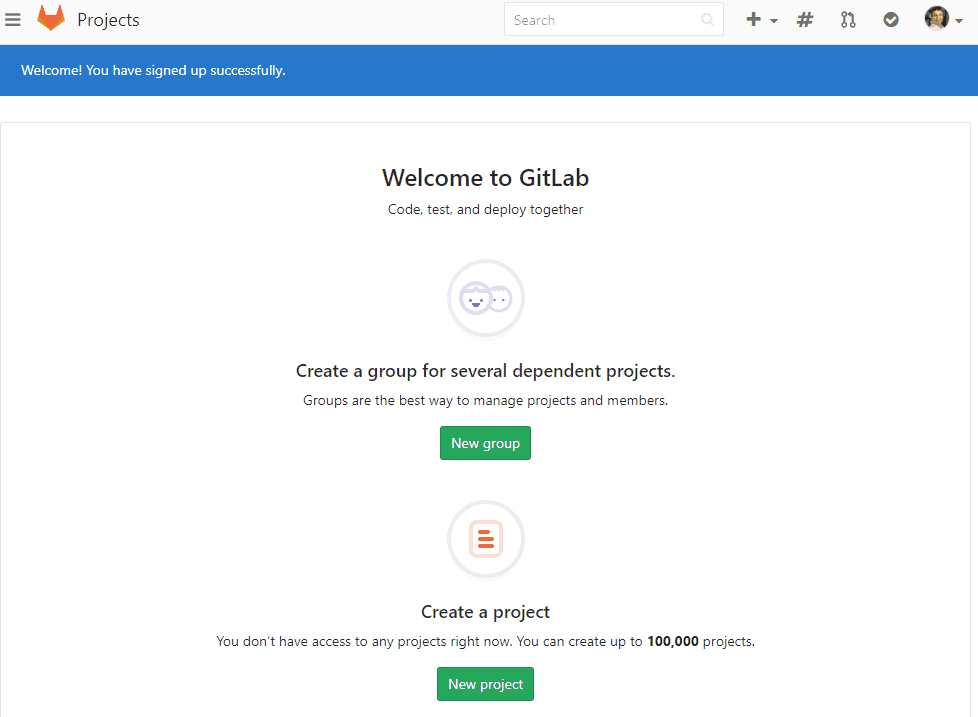

Originally published at Containerized Me.


Game changer in Container and Storage Paradigm- MayaData gets acquired by DataCore Software
Don Williams
Don Williams
Managing Ephemeral Storage on Kubernetes with OpenEBS
Kiran Mova
Kiran Mova
Understanding Persistent Volumes and PVCs in Kubernetes & OpenEBS
Murat Karslioglu
Murat Karslioglu