MayaData’s new Kubera SaaS offering makes it easy to roll out high-availability storage onto your Kubernetes cluster. The newer version is the one to look out for. With the latest version, you can install OpenEBS Enterprise Edition v2.0 using the Kubera Director UI. Kubera Director UI supports the cStor-CSI storage engine. With that, you can perform simple CRUD operations on cStor pools.
cStor volumes support Read-Write-Once. I will use an NFS provisioner to create Read-Write-Many (RWX) volumes with cStor’s redundancy backing it.
I am going to use kubernetes-retired/external-storage/nfs to create the NFS server.
Prerequisites
Prerequisites for the cStor-based NFS server are as follows:
- A Kubernetes cluster running Kubernetes v1.14 or above
- Block devices for storage -- At least 1 block device is required. You will need at least 3 nodes and block devices on each of those nodes for high-availability.
- iSCSI initiator packages are installed on all of your storage nodes. Use the systemctl status iscsid command to check if the iSCSI initiator service is active and running. You can install the iSCSI initiator packages using one of the following commands:
- For Ubuntu/Debian: apt-get install -y open-iscsi
- For CentOS/RHEL: yum install -y iscsi-initiator-utils
- Click here if you're using Rancher, OpenShift, or other platforms.
- NFS common and NFS client packages must be installed on the client nodes. You can install them using one of the commands below:
- For Ubuntu/Debian: apt-get install -y nfs-common
- For CentOS/RHEL: yum install -y nfs-utils
STEP 1
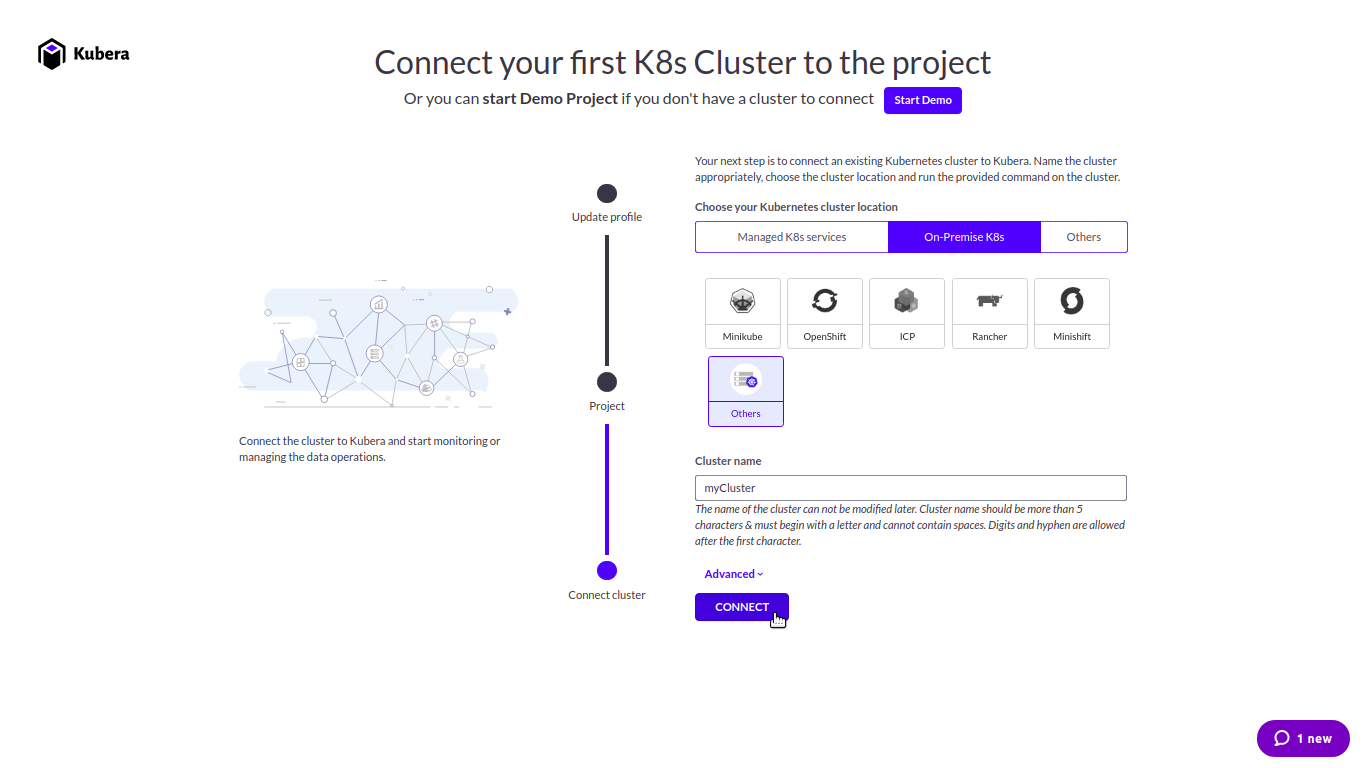
Sign in to Kubera and connect your cluster at director.mayadata.io.

STEP 2
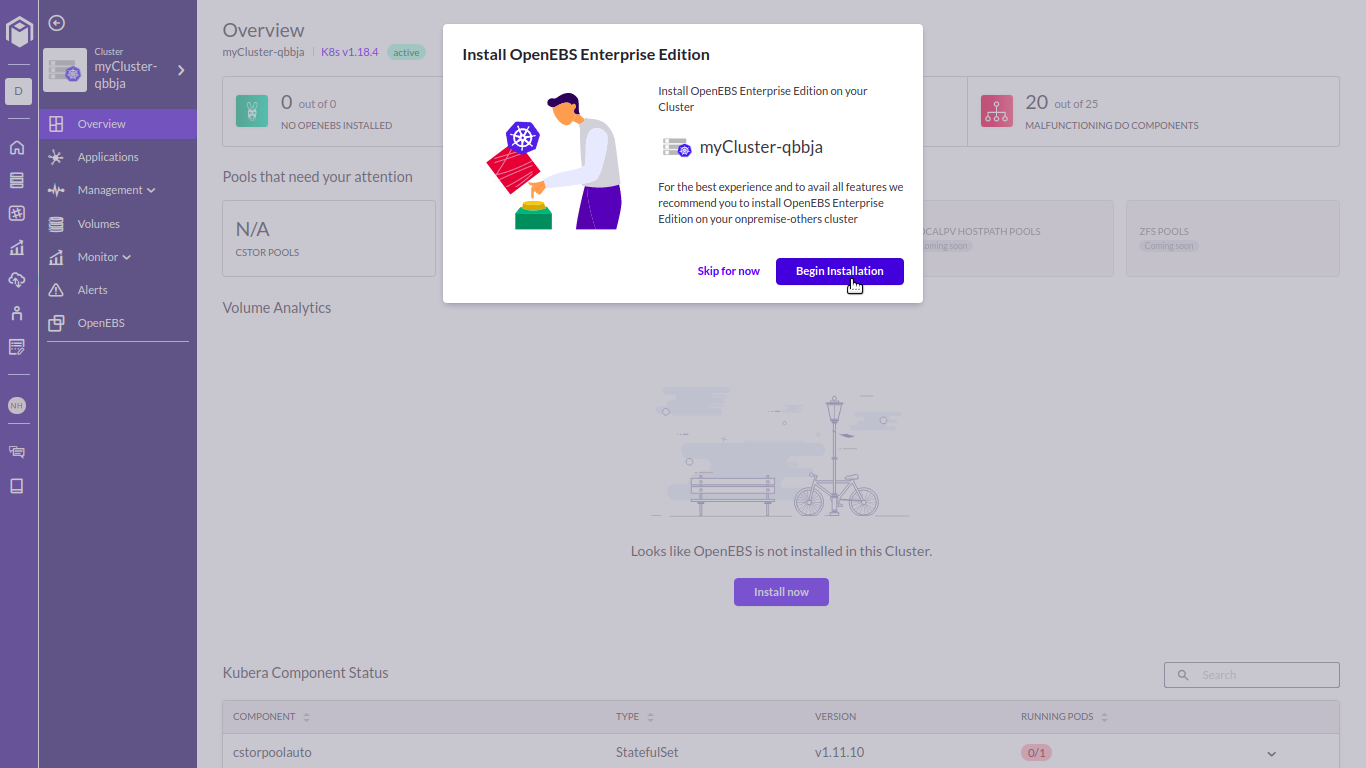
Install OpenEBS Enterprise Edition. If you’re using the Community Edition, you can upgrade to the Enterprise Edition for free!

STEP 3
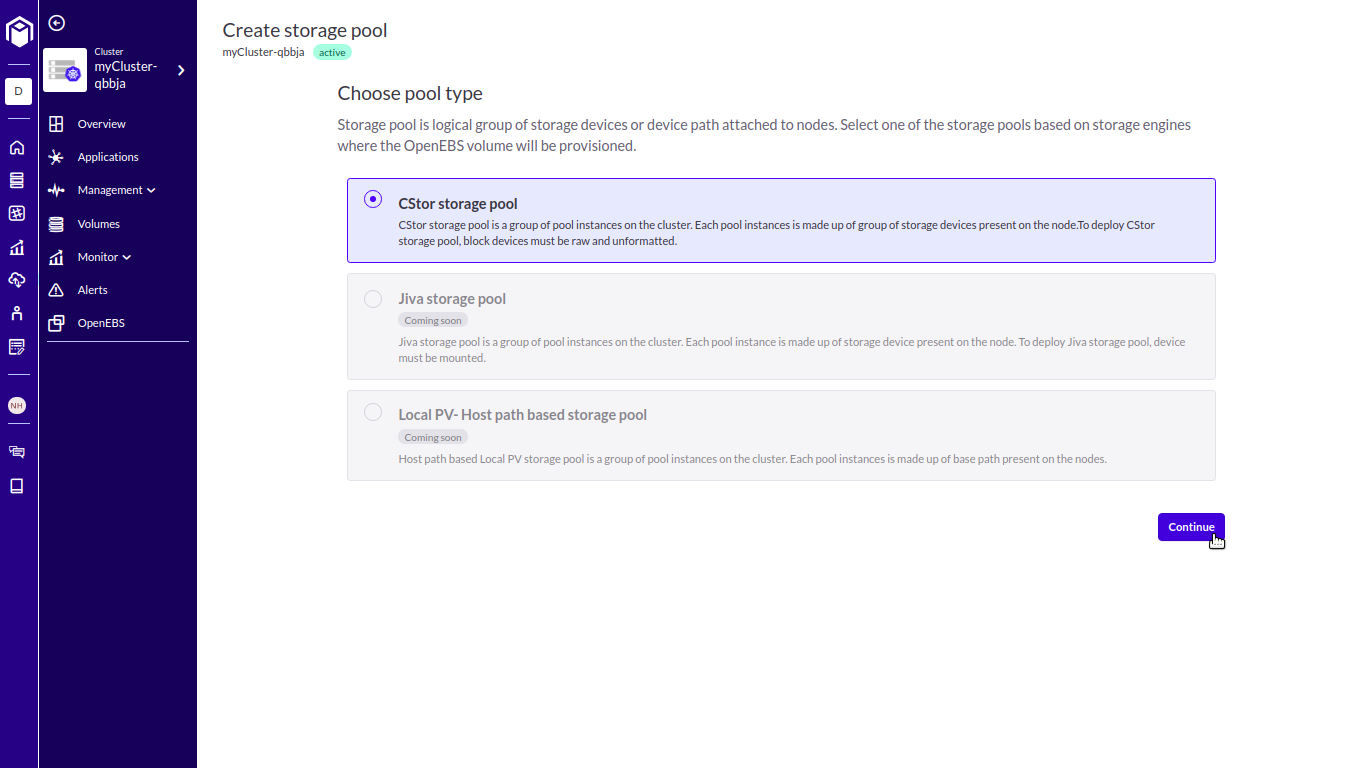
Create a cStor Pool Cluster. I’ll be using a striped pool for my setup, but you can also create mirrored, raid Z, and raid Z2.

STEP 4
Create a cStor-CSI storage class. A minimum value of "3" is required in the parameters.replicaCount field for high-availability. Execute the following snippet in a terminal window with the kubectl tool configured:
CSPC_NAME=$(kubectl get cspc --sort-by='{.metadata.creationTimestamp}' -o=jsonpath='{.items[0].metadata.name}' -A)
CSPI_COUNT=$(kubectl get cspc --sort-by='{.metadata.creationTimestamp}' -o=jsonpath='{.items[0].status.provisionedInstances}' -A)
cat  EOF | kubectl apply -f -
kind: StorageClass
apiVersion: storage.k8s.io/v1
metadata:
  name: cstor-csi
provisioner: cstor.csi.openebs.io
allowVolumeExpansion: true
parameters:
  cas-type: cstor
  cstorPoolCluster: $CSPC_NAME
  replicaCount: "$(if [ $CSPI_COUNT -lt 3 ];then echo -n "$CSPI_COUNT";else echo -n "3";fi)"
EOF
STEP 5
Create a namespace for the NFS server provisioner components. If you want to use an existing namespace for this, you may skip this step.
kubectl create ns nfs-serverSTEP 6
Create appropriate ServiceAccount, PodSecurityPolicy, and RBAC objects. You can create them by using the following YAML spec. Copy the following snippet into a YAML file and use the kubectl create -f <file>.yaml command.
apiVersion: v1
kind: ServiceAccount
metadata:
  name: nfs-provisioner
    # Namespace where the NFS server will be deployed
  namespace: nfs-server
---
apiVersion: policy/v1beta1
kind: PodSecurityPolicy
metadata:
  name: nfs-provisioner
spec:
  fsGroup:
    rule: RunAsAny
  allowedCapabilities:
  - DAC_READ_SEARCH
  - SYS_RESOURCE
  runAsUser:
    rule: RunAsAny
  seLinux:
    rule: RunAsAny
  supplementalGroups:
    rule: RunAsAny
  volumes:
  - configMap
  - downwardAPI
  - emptyDir
  - persistentVolumeClaim
  - secret
  - hostPath
---
kind: ClusterRole
apiVersion: rbac.authorization.k8s.io/v1
metadata:
  name: nfs-provisioner-runner
rules:
  - apiGroups: [""]
    resources: ["persistentvolumes"]
    verbs: ["get", "list", "watch", "create", "delete"]
  - apiGroups: [""]
    resources: ["persistentvolumeclaims"]
    verbs: ["get", "list", "watch", "update"]
  - apiGroups: ["storage.k8s.io"]
    resources: ["storageclasses"]
    verbs: ["get", "list", "watch"]
  - apiGroups: [""]
    resources: ["events"]
    verbs: ["create", "update", "patch"]
  - apiGroups: [""]
    resources: ["services", "endpoints"]
    verbs: ["get"]
  - apiGroups: ["extensions"]
    resources: ["podsecuritypolicies"]
    resourceNames: ["nfs-provisioner"]
    verbs: ["use"]
  - apiGroups: [""]
    resources: ["endpoints"]
    verbs: ["get", "list", "watch", "create", "update", "patch"]
---
kind: ClusterRoleBinding
apiVersion: rbac.authorization.k8s.io/v1
metadata:
  name: run-nfs-provisioner
subjects:
  - kind: ServiceAccount
    name: nfs-provisioner
     # Namespace where the NFS server will be deployed
    namespace: nfs-server
roleRef:
  kind: ClusterRole
  name: nfs-provisioner-runner
  apiGroup: rbac.authorization.k8s.io
STEP 7
Create the NFS server provisioner Service, StatefulSet, and StorageClass. Use the following YAML spec.
kind: Service
apiVersion: v1
metadata:
  name: nfs-provisioner
   # Namespace where the NFS server will be deployed
  namespace: nfs-server
  labels:
    app: nfs-provisioner
spec:
  ports:
    - name: nfs
      port: 2049
    - name: nfs-udp
      port: 2049
      protocol: UDP
    - name: nlockmgr
      port: 32803
    - name: nlockmgr-udp
      port: 32803
      protocol: UDP
    - name: mountd
      port: 20048
    - name: mountd-udp
      port: 20048
      protocol: UDP
    - name: rquotad
      port: 875
    - name: rquotad-udp
      port: 875
      protocol: UDP
    - name: rpcbind
      port: 111
    - name: rpcbind-udp
      port: 111
      protocol: UDP
    - name: statd
      port: 662
    - name: statd-udp
      port: 662
      protocol: UDP
  selector:
    app: nfs-provisioner
---
kind: StatefulSet
apiVersion: apps/v1
metadata:
  name: nfs-provisioner
   # Namespace where the NFS server will be deployed
  namespace: nfs-server
spec:
  selector:
    matchLabels:
      app: nfs-provisioner
  serviceName: "nfs-provisioner"
  replicas: 1
  template:
    metadata:
      labels:
        app: nfs-provisioner
    spec:
      serviceAccount: nfs-provisioner
      terminationGracePeriodSeconds: 10
      containers:
        - name: nfs-provisioner
          image: quay.io/kubernetes_incubator/nfs-provisioner:v2.3.0
          ports:
            - name: nfs
              containerPort: 2049
            - name: nfs-udp
              containerPort: 2049
              protocol: UDP
            - name: nlockmgr
              containerPort: 32803
            - name: nlockmgr-udp
              containerPort: 32803
              protocol: UDP
            - name: mountd
              containerPort: 20048
            - name: mountd-udp
              containerPort: 20048
              protocol: UDP
            - name: rquotad
              containerPort: 875
            - name: rquotad-udp
              containerPort: 875
              protocol: UDP
            - name: rpcbind
              containerPort: 111
            - name: rpcbind-udp
              containerPort: 111
              protocol: UDP
            - name: statd
              containerPort: 662
            - name: statd-udp
              containerPort: 662
              protocol: UDP
          securityContext:
            capabilities:
              add:
                - DAC_READ_SEARCH
                - SYS_RESOURCE
          args:
            - "-provisioner=openebs.io/nfs"
          env:
            - name: POD_IP
              valueFrom:
                fieldRef:
                  fieldPath: status.podIP
            - name: SERVICE_NAME
              value: nfs-provisioner
            - name: POD_NAMESPACE
              valueFrom:
                fieldRef:
                  fieldPath: metadata.namespace
          imagePullPolicy: "IfNotPresent"
          volumeMounts:
            - name: export-volume
              mountPath: /export
  volumeClaimTemplates:
  - metadata:
      name: export-volume
    spec:
      accessModes: [ "ReadWriteOnce" ]
      storageClassName: "cstor-csi"
      resources:
        requests:
           # This is the size of the cStor volume.
           # This storage space will become available to the NFS server.
          storage: 10Gi
---
kind: StorageClass
apiVersion: storage.k8s.io/v1
metadata:
   # This is the name of the StorageClass we will use to create RWX volumes.
  name: nfs-sc
provisioner: openebs.io/nfs
mountOptions:
  - vers=4.1
STEP 8
Create ReadWriteMany PVCs using the NFS StorageClass to create RWX volumes. You can use these volumes in your application pods. Here's a sample PVC YAML:
kind: PersistentVolumeClaim
apiVersion: v1
metadata:
  name: nfs-claim
spec:
  storageClassName: nfs-sc
  accessModes: [ "ReadWriteMany" ]
  resources:
    requests:
       # This is the storage capacity that will be available to the application pods.
      storage: 9Gi
Conclusion:
An NFS server is the way to go for RWX at the moment. The block-level replication with cStor takes care of the redundancy bit.
That’s all, folks! Thanks for reading. While you’re here, shoot me a comment down below.


Managing Ephemeral Storage on Kubernetes with OpenEBS
Kiran Mova
Kiran Mova
Why OpenEBS 3.0 for Kubernetes and Storage?
Kiran Mova
Kiran Mova
Deploy PostgreSQL On Kubernetes Using OpenEBS LocalPV
Murat Karslioglu
Murat Karslioglu