

Setup Kubera
Kubera is a SaaS portal that enables DevOps and Administrators to connect their Kubernetes clusters for centralized monitoring, Data Migration as a Service (DMaaS), ChatOps, and obtaining support from MayaData. This article gives you an overview of how to set up and configure Kubera, connect your cluster, and deploy OpenEBS on it.
STEP 1:
Click here to get directed to Kubera.

User can sign up using any of the three options:
Local Auth
- Add your First Name and Last Name.
- Add your Email ID
- Assign a password,
Necessary conditions: - Minimum 8 characters
- At least 1 Upper Case character
- At least one special character(! @ $ ^ & * ., ?)
- Next, click on Sign Up for Free
Google Auth
To login using Google, click on the Google icon on your screen, and then add your Google credentials.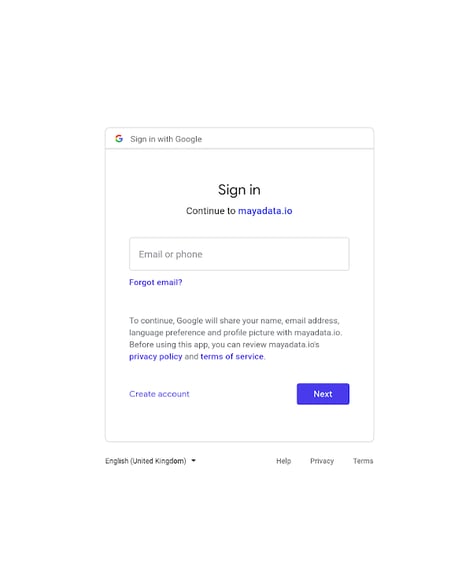
Github Auth
- Add your First Name and Last Name.
- Add your Email ID
- Assign a password,
Necessary conditions: - Minimum 8 characters
- At least 1 Upper Case character
- At least one special character(! @ $ ^ & * ., ?)
- Next, click on Sign Up for Free
STEP 2:
UPDATE YOUR PROFILE:
- The Email ID field will be immutable and will contain the registered Email ID.
- Add your Phone Number.
- Next, add your Company Name.
- Next, add your Role.
- Click on Submit.

STEP 3:
ADD YOUR PROJECT NAME
Provide the desired name for the project in the box and click on continue.

STEP 4:
Connect your K8s cluster or Start with the Demo Project.

To connect your cluster, select the cluster location and provide a name for the cluster.
NOTE: The Cluster cannot be renamed later.
Or, you can start a ‘Demo Project.’ The Demo project will help you understand how the pages look like once a cluster is connected. The cluster is handled from the backend by the MayaData team, and hence you get the ability to only view the existing components and features. Click on the ‘Demo Project’, this redirects you to a new project. You can switch between projects anytime from the drop-down menu on the left-hand side, as shown in the image below.

STEP 5:
To connect a cluster, switch to your project and click on the ‘Connect Cluster’ button, copy and execute the lines of code visible in the Pop-Up screen on your command prompt, which is connected to your cluster.

You will be redirected to Kubera Dashboard. Now, you are all set to monitor your cluster(s).

Installing OpenEBS
OpenEBS provides block volume support through the iSCSI protocol. Therefore, the iSCSI client (initiator) presence on all Kubernetes nodes is required. For Linux platforms, the installation of the iSCSI initiator service and tools depends on your host O/S or the kubelet container. You can follow the below steps for the installation/verification of the required packages. It is mandatory to verify the iSCSI services and ensure that it is running on all the worker nodes. OpenEBS uses the iSCSI protocol to connect to the block volumes. To get the iSCSI initiator installed, please follow the steps at iSCSI-install
Steps for OpenEBS installation
OpenEBS can directly be installed using the Kubera UI.
The overall installation process is divided into two types:
- Basic: Basic Installation is recommended in scenarios where OpenEBS needs to be deployed using the default values.
- Advanced: Advanced Installation is recommended in cases where OpenEBS needs to be installed with customized values.
Once the cluster is connected, to install OpenEBS, click on OpenEBS on the left side-bar.

Next, You can choose the installation type as Basic or Advanced based on your requirement.
If you want to setup OpenEBS with default settings, select Basic Installation else to customize resource limits, node selection, and Node Disk manager before installation, select Advanced Installation.
Basic Installation
The basic installation provides you with an uneditable YAML. All the values have been set to default, and OpenEBS gets deployed in the openebs namespace.
To deploy, click on Deploy OpenEBS.

The installation might take a few minutes. Once the installation is complete, you'll have the following screen displaying all the Installed OpenEBS components.

Click on continue. This redirects you to the page displaying the status of Control Plane Components.
OpenEBS is now successfully installed on your cluster.
Advanced Installation
NOTE:
Scheduling Control Nodes and Data Nodes are the compulsory fields. These need to be selected; otherwise, the pods end up in the pending state as they do not get a node to be scheduled on. All other fields can be customized as per your requirement. In case no values are specified, OpenEBS get installed with default values.
- Under Start Installation, specify the Namespace, Default Directory, and Docker registry for OpenEBS Installation.
Note:

- While specifying the namespace, ensure that it must contain a min of 6 characters without spaces or symbols.
- While specifying the namespace, you can specify any namespace. In case the specified namespace does not exist, it gets created automatically.
- Next, Specify your resource limit. You can choose one of these options available based on the application's size, or you can provide some custom values.
- Next, select the nodes where Control Plane components will get scheduled.
- Similarly, select the nodes where the Data Plane components have to be scheduled.
- Next, segregate the Disk Filters under Include or Exclude.
- OpenEBS now supports MayaStor. To include MayaStor installation, select the slider button, as shown in the image.
To know more about MayaStor, click here. - Once everything is done, the customized YAML gets displayed. Click on Deploy OpenEBS to install OpenEBS.


Installation may take a few minutes.
In case the OpenEBS installation fails, you can choose to abort the installation process. Aborting stops installation and removes all the components that may have been installed.

After aborting, you may retry installation or in case of any further queries, feel free to contact our support.


